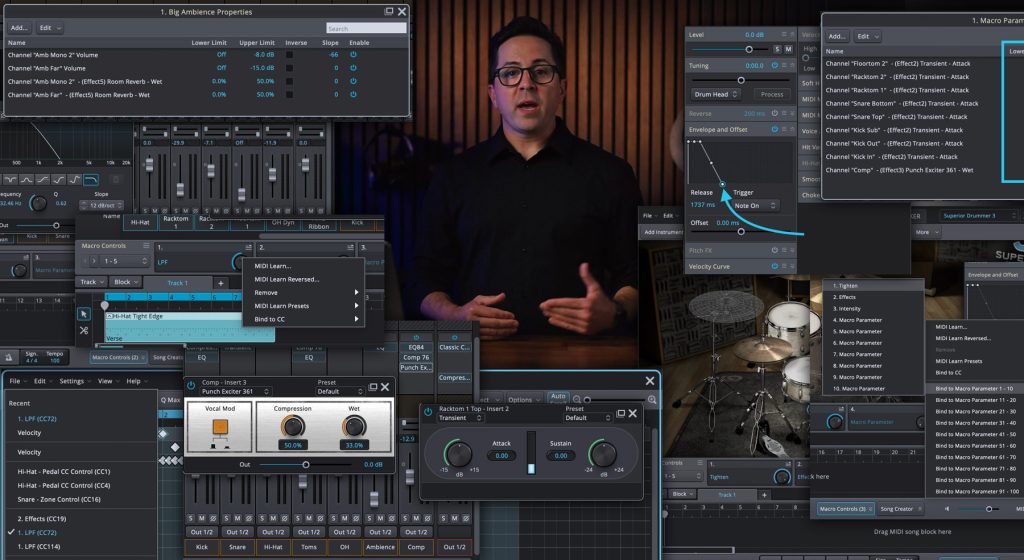
A wide, polished guitar sound at home used to mean a treated room, a few mics and a real amp pushing air. That’s still a great way to do it if you have the equipment. But for songwriters and producers working in a bedroom or a small studio, you can get to the same place with a single guitar, a clean signal and EZmix 3.
The trick is what happens before you ever load EZmix 3 in your DAW. A clean DI recording gives you everything you need to shape tone, build width and keep the door open for changes later. EZmix 3 does the heavy lifting on the sound, but the signal you feed it determines how good it can be.
Why DI?
DI stands for direct inject. It means your guitar plugs straight into your interface or a DI box. No mic, no room, just the pickups and the strings.
For amp simulation, that’s exactly what you want. A plugin like EZmix 3 is built to react to a clean, full-range signal. The moment you print a miked sound to your hard drive, you’ve committed to whatever tone you tracked. With DI, you can change amps, cabinets, settings and stereo placement after the fact. You can re-amp the part next week. You can come back in a year and update the tone without re-recording a note.

What you need to record DI guitars
The hardware list is short and cost effective.
One more thing worth noting if you have more than one guitar available. When you track the left and right sides, use two different guitars. Different pickups and different styles of guitars give you a different tone on each side, and that small difference is what makes a doubled part sound wider in the full mix.
Recording clean: the DI tracking session
A raw DI signal sounds thin and uninviting on its own. That’s normal. If it bothers you while tracking, mute the monitor on that channel or play through EZmix 3 in its efficient processing mode which is avaialble for AI amp capture presets.

Record the part twice. One take goes to the left, one to the right. I wont get into the panning debate, go as far left and right as you want. However, do not copy and paste a single take to both sides. Duplication is one performance played by both speakers, which sounds like one guitar in mono. Two separate performances of the same part have small, natural differences in pick attack, vibrato and timing, and those differences are what your ears read as stereo width. Also, Let the takes breathe. Don’t quantize the life out of them, but make sure they are tight.
In modern metal, it’s also very common to quad-track guitars, where both the left and right side contain a doubled version of the performance for 4 total recorded tracks.
One small EZmix 3 note worth flagging before you record: there’s a guitar tuner built right into the plugin. Especially handy if you’re running EZmix 3 in standalone mode as a practice amp.

Dialing in EZmix 3
Now you’ve got two tracks of clean DI. Load EZmix 3 on each one as an insert. Pick a different amp preset for each side. Maybe a tighter, brighter setting on the left and a fuller, midrange-forward one on the right. The point is to make the two sides distinct from each other but suit the same genre.
When the tones are in the ballpark, pan the left track hard left and the right track hard right. You should already hear a bigger image than a single guitar can produce on its own.
Building a custom signal chain in the effects rack
Up to this point we’ve used EZmix 3 like a single amp plugin: one preset per track. But the effects rack inside each instance can stack up to five effects in series. That’s a pedalboard, amp and post processing setup running inside one plugin slot.

Hit the plus button at the top of the rack to add a new slot. From there you can load anything: a different amp, an EQ, a compressor, a delay, a reverb. Each slot has its own input gain, output gain and wet/dry mix, so you can balance every stage of the chain right inside the plugin window.
A practical example for one of your guitar tracks: load an amp preset in slot one, drop a tape delay in slot two for some movement and add a plate reverb in slot three. Save the whole thing as a project so you can pull up the exact same chain on the next song.

The single effect filter is also worth knowing about. If you’ve already nailed an amp tone in slot one and just want to add one extra effect, open the filters and turn on Single effect. The preset list will only show effects in isolation, so you can drop a single chorus, delay or compressor into a new slot without hunting through full preset chains.
Widening on the guitar bus
This is where you get the last bit of width and polish. Route both guitar tracks to a single bus, and put a new instance of EZmix 3 on that bus.
The first effect to load is the mid-side filter. Quick context on what mid and side mean: any stereo signal can be split into a mid channel (the information that’s identical on both sides, which is the center of your image) and a side channel (the differences between left and right, which is the stereo information). Treating those two channels separately is one of the most useful tricks in modern mixing.
Roll off the low end on the side channel. Somewhere around 120 Hz is a good starting point, with a gentle slope. The reason this works comes down to two things. Low-frequency energy in the sides sounds muddy on stereo playback, because bass information spreads where it shouldn’t. It also collapses badly on mono systems, which can cause phase cancellation and a loss of bottom end. Keeping the low end anchored in the mono center fixes both problems at once.
One more thing to try on the bus, especially if you’re doubling or quad-tracking: load the Guitar De-Whistler preset from the EZmix 3 core library. Layering multiple guitar takes can build up resonant frequencies in the upper mids that sound fine on a single track, but turn into a piercing whistle once four of them are stacked. The preset is built to find those buildups and pull them down.

It’s a subtractive EQ with Frequency and Cut controls, plus three toggles (Low Mid, Mid, High Mid) to focus the cut on a specific range. Sweep the Frequency slider until you hear the offending resonance, then pull Cut down until the whistle backs off without dulling the tone. The Post-EQ Lift slider on the right adds a touch of gain back if the cut leaves things sounding too tame. A small cut in the right place can take the harshness out of a stacked chorus without killing the energy.
After the De-whistler or mid-side filter, load the stereo enhancer. Push the width past 100 until you like what you hear. Don’t go so far the center feels hollow. Trust your ears, and check the mix in mono every so often to make sure nothing important disappears.
Putting it all together
That’s the whole chain. Record a clean DI twice (or more). Use different guitars or different amp presets on the left and right so the two sides aren’t identical. Pan hard. Bus the tracks together, filter the low end out of the sides and add a touch of stereo width and the “Guitar De-Whistler” preset if needed.
Two clean DI takes through EZmix 3 will get you most of the way to a full-width, record-ready guitar sound. The rest is taste.
Explore EZmix 3 here.



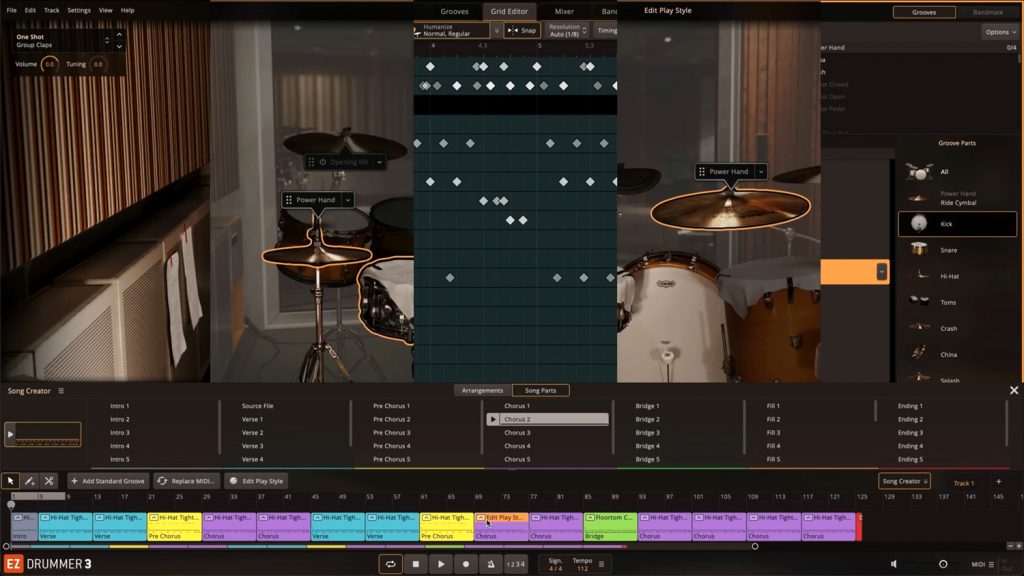
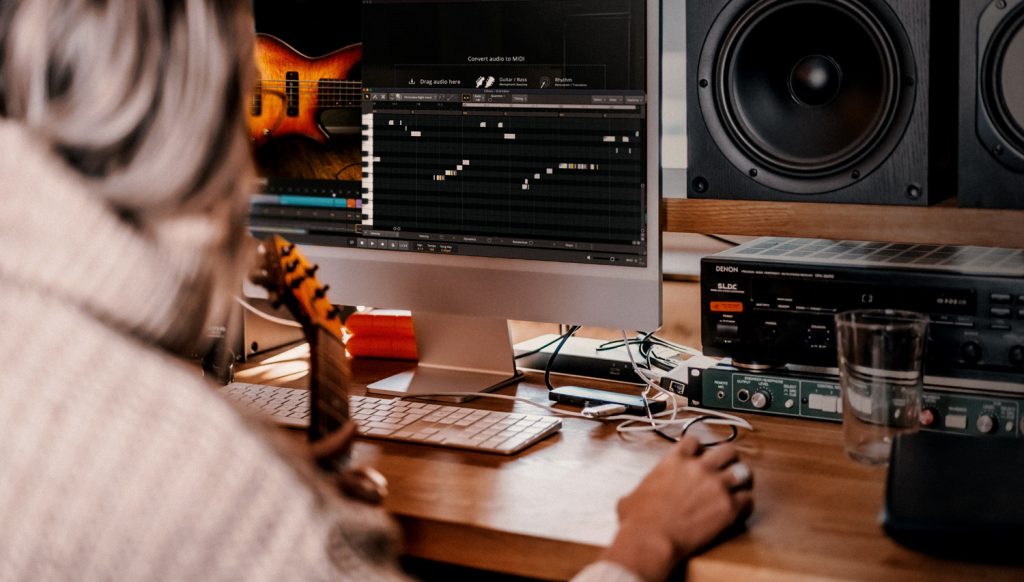


In this article, we dive into how EZkeys 2 can serve as a co-writer rather than just a piano plugin. We’ve highlighted five features that keep you moving forward and help you explore grooves, chords and performances so you can focus on writing and finishing more songs, faster.